How To Make Easy Mini Envelopes


Once your crafty 6+ year old learns how to make these mini envelopes be prepared for a lot of "just because" and "love" mail. I simplified the technique so little ones could make these without templates, flaps and glue. Perfect for Valentines Day! My 5 year old preferred me to make them while she did the decorating and writing of mini notes.

Supplies: paper,clear or paper tape and scissors


Start with a strip of paper. See picture for an easy way to get 8 envelopes out of one piece of paper.


Fold paper up approximately 1/3 up. Use your eye to make the envelope the size you want it. Fold down top flap using the edge of the bottom flap as your guide. Trim any excess paper that extends beyond folded envelope. Unfold. You will have a strip of paper folded in thirds.


Trim top 1/3 in to a point.
Tip: Pinch top of paper in half to determine where you envelope point will be.


Tape sides. Trim off excess tape along bottom. 
 I used Nexcare Gentle Paper Tape because it is white and you can write on it.

Decorate envelopes and fill with mini sentiments. A great way to use up your scraps of colored paper or scrap booking paper. 


Our Crystal Cave


The snow was piled so high after plowing our driveway - it made the perfect start for our crystal cave.
Papa King & I dug out a cave big enough for two...


Em approves!


Water tinted with pink food coloring squirted on top....


Colored ice cube crystals inside!

A crystal cave fit for 2 princesses :-)

Have a crafty weekend!

A Colorful Snow Day


Here are the troops ready for some outdoor fun. The snow was a little too deep to sled or even walk through.


We shoveled out a little "room" in the snow for the girls. Gave them spray bottles with food coloring and let them release their inner graffiti artist. Notice Em is mittenless....she was couldn't squeeze her bottle with mittens on. She didn't seem to mind so I let her spray for 10 minutes before whisking her off to nap.

I posted about this activity last year. Many wondered if the food coloring stained their mittens and coats. We haven't had a problem. The wash took care of any stray drops. I would suggest using old or dark mittens for this activity if you are concerned. I also do not add a ton of food coloring. Enough to color the water.


After some hot cocoa we mixed up some colored ice cubes and placed them outside to freeze over night. Today we will use them to decorate our snow creations.


Hope you had fun too!

How To Make A Quick Clay Heart


I showed my girls how to make clay hearts the other day. Lu (5 years old) was able to make them on her own after some hands on guidance. I think the ideal ages would be 6+. It is so simple I almost didn't post it! I figured, the simplest route is often the last one we try. So to save you some time....

You may ask yourself, why not use a cookie cutter? Well these little hearts are smaller than a cookie cutter and more rounded looking. They would make cute magnets or charms. Plus there is something satisfying molding something with your hands.


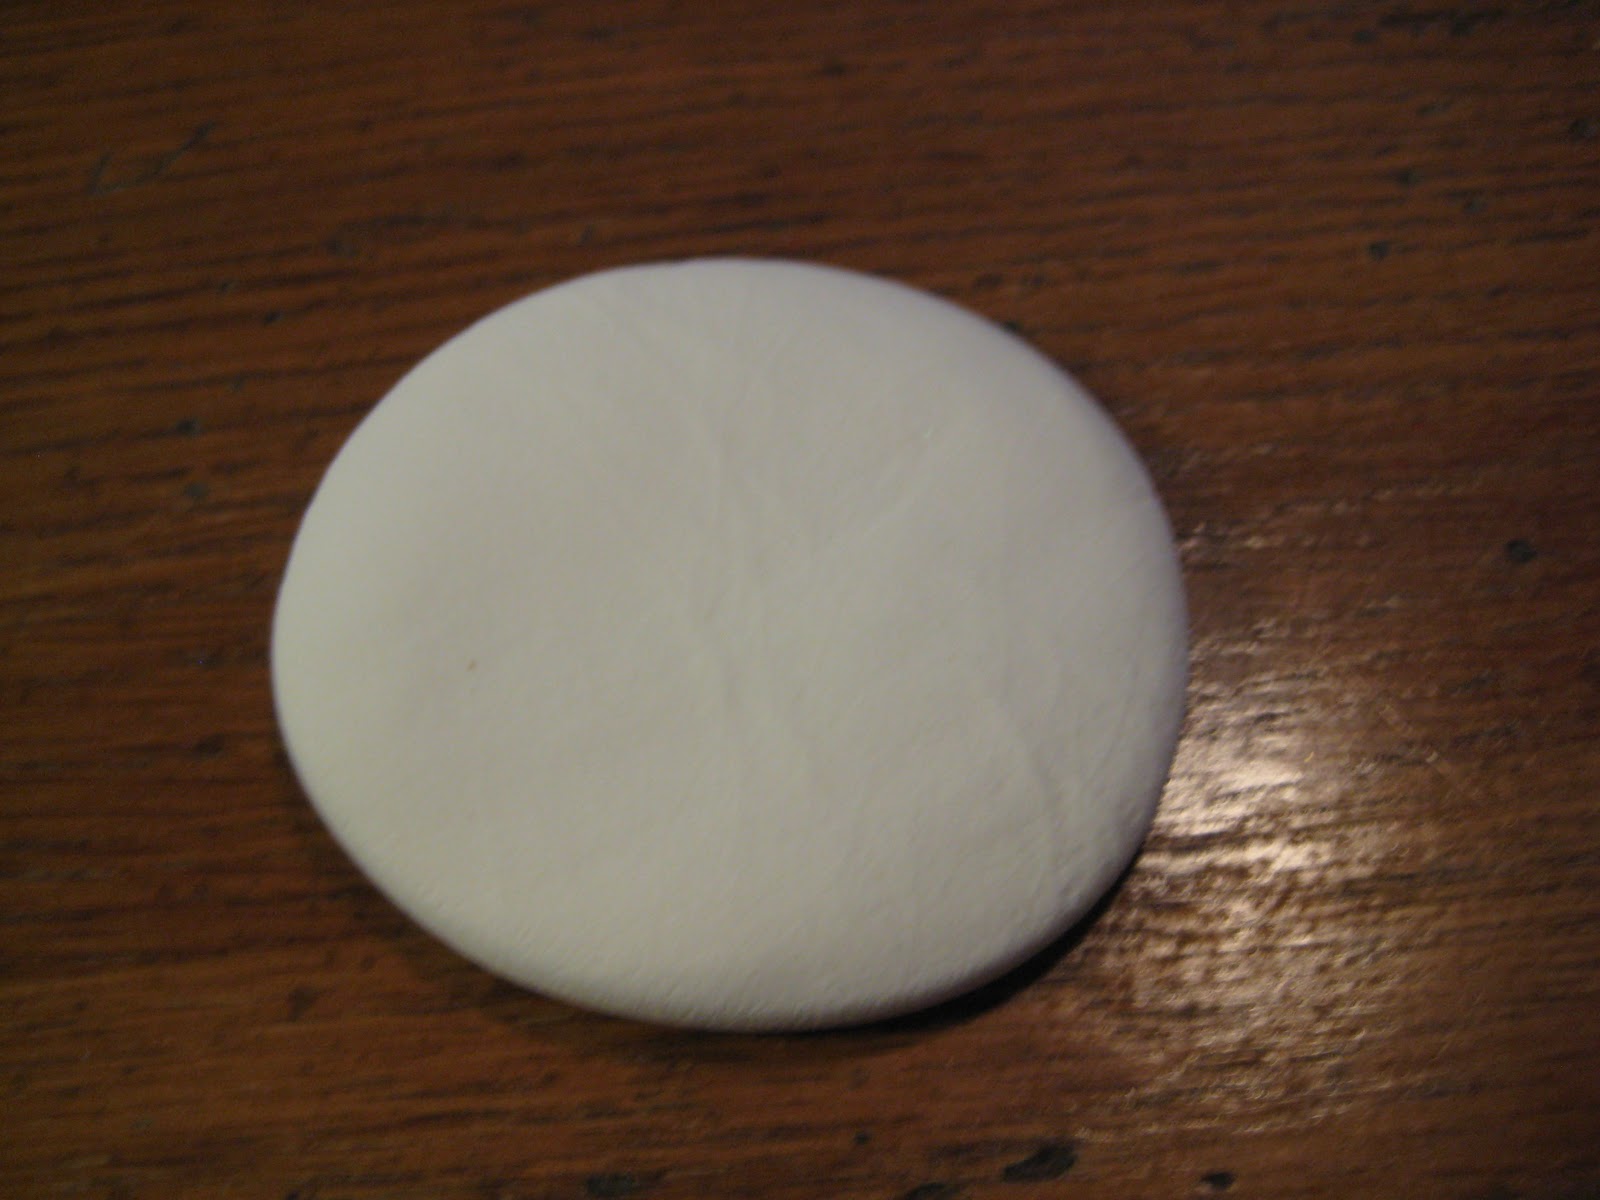
Roll some clay, model magic or salt dough into a small ball.


Flatten slightly with your palm or fingers. Not too much!


Squeeze one side, using your thumb and pointer, to create end of heart.


Snip with scissors the top part of heart.


Using your pointer finger, nudge the two piece apart. Round the top of each side by patting gently with your finger. 


You can keep it like that or SQUISH it with your palm. This was my girls favorite part. Let dry and then glue magnet to back for a special Valentine's gift. 
If making a charm poke a hole into clay before drying. Make sure hole is big enough to fit your yarn or ribbon. Also don't place too close to edge.

How To Make A Quick Clay Owl: A Variation


How To Make A Quick Clay Owl was such a popular post I decided to make a super simple variation.

Start with a small ball of Model Magic or clay.


Flatten with your palm.


Loosely fold in half.


Pinch with your thumb and pointer finger.


Gently pull up ears.

Shape and pinch.


Use the cap of a marker to make eyes.


You can use a smaller marker to make inside part of eye.
You could also push in google eyes or paint eyes in when dry.


This fall the girls got to meet this sweet barn owl who was rescued by the local Audubon Society. He had been hit by a car. 


Paper Chains: No Staples or Tape Needed

I came across this great paper chain technique on World Preschool Mom's Blog. I had fun modifying the technique for Asian New Year and Valentines Day themed chains. 

Tip: Sulfite Construction Paper rocks! The colors are brighter, the paper is smoother and most importantly the colors don't fade as quickly (which is key when your making something that will be hanging up for a bit.).


The technique takes a bit more work but I can see a crafty middle schooler having a blast with this.
The foundation of the chain is a series of handcuff or barbell (two circles held together by a thin rectangle) shape folded in half and then linked together. You can change the scale and design once you get the hang of it.
If you are varying from the basic shape I would create a template.


1. Cut a piece of construction paper in half (the short way.)


2. Take one piece and fold in half.


3. Trace your template shape. Make sure the folded edge is on the rectangle side not on the circle side.


4. Cut out.


5. Fold rabbit head in half (lining up the ears and circle) cut out center circle.
6. Repeat steps 1-5 until you have enough pieces to start stringing together.


7. Take one piece (the red one in picture) keep folded in half. Thread second piece (the white one) through circle of the first piece.


8. Fold in half like picture. Repeat until you have a chain.

I made a Valentine's Day Chain too.


I cut the paper the long way for the the hearts.


Traced my template and cut out.


Linked together. So much fun! Flowers would be cute too! Lots of possibilities...

 Check out World Preschool Mom's Blog for more detailed instructions and other paper chain ideas.

Repurpose Melissa & Doug Wooden Tray


We really like Melissa & Doug products but don't you find it a bit frustrating that they come packaged in these lovely wooden trays with NO TOPS! It makes the tray completely useless. I end up storing the pieces in old baby wipes containers.

So ever the craft pack rat I hold onto them imagining I will someday decoupage them into pretty picture frames/shadow boxes. Well, that day just isn't going to happen. 

When the girls got their recent M&D Wooden Dress Up Dolls for Christmas from Grammy I grabbed my glue gun and BAM, 5 minutes later I had a display shelf for all of Lu's tiny treasures (fairies, squinkies, shells...) I will hang it low so she can curate her collections as she sees fit.

I simply glue gunned the ribbon to the back and then fearful it wasn't strong enough added extra strong packing taped on top. I then glue gunned a shim (which is a thin piece of wood that is wider on one side then the other) to the bottom. This helped tip the boxes bottom back against the wall so the items would not fall out so easily.

Boo Boo Sock


The Boo Boo Sock was one of our first posts. 
We originally used baby socks the girls had grown out of. Our girls have grown (as children do) and so have the number of times they bump a head, slam a finger or have a belly ache. We have since moved onto adult sized socks. We just made a new Boo Boo Sock because our youngest is in the "me too" phase. So if Lu needs Boo Boo Sock so does Em. We keep ours in the freezer.
You would be amazed at how Boo Boo Sock soothes an upset child in our house.

Simply take one sock and fill it with rice. Tie off end with a heavy duty hair elastic. Cover with second the sock. (Put the tied off end in first.) Remove cover to wash.


Aaah! Much better!

Knitting

I never thought that I would or could ever consider myself a knitter. Well, with a new home, a new town, a new state came a new and unexpected group of friends, my knitting group (as I fondly refer to them.) Unexpected because I don't knit or didn't knit until I met these amazing ladies.  Mind you, I had only tried knitting as a Girl Scout back in the 80's. I don't even think I earned a badge because like many things I try I don't end up completing. Well, no more! With the guidance and patience of my knitting group I made my first project! This is no beginners first project either. I knitted the popular Citron Shawl. I used the most beautiful hand dyed yarn from String Theory. The shawl hasn't been blocked or finished yet -- I need the help of my knitting group to do that! 

I don't think I could have done this if it hadn't been a "knit along project". We all worked on our own shawl. As I beginner I could see first hand what it was suppose to look like and what the pitfalls of deciphering the pattern were. It took me twice as long to complete as the others (partly because I started over several times). 

The other neat thing about my knitting group, besides the fact they are so warm and welcoming, is 2 of the women have adopted children and one is an adult adoptee! I am not kidding you. I joined this group because of a friend of my husbands said "I know someone who lives in your new town. You should meet them." Crazy. You can imagine, I feel right at home as an adult adoptee mama to an adopted daughter! This is the group we are doing the Asian New Year potluck with.

Drumroll, please...


So here is the kicker. What you can't tell is -- it is too small for me! I knit so tightly it came out teen sized! (I also have the shoulders of a line backer!) Good thing I have two daughters who will inherit it some day.

Asian New Year Craft: Year of the Rabbit


I've got bunnies on the brain! 

The Lunar (also called Sol Nal, Tet, Asian or Chinese) New Year is approaching. 
February 3rd begins the year of the Rabbit.

 We will be participating in a potluck New Year party. Each family is bringing a different dish from their or their child's native country. We will be doing crafts, playing traditional games, wearing traditional clothes... I am really looking forward to it. 

I have to think up the perfect craft. This one above is cute but not the one we will be doing. Even though it is simple it required a glue gun...so automatically it was disqualified. 

If you have older children or are inclined to try this yourself (maybe save it for Easter) here is how I made it.

Supplies: paper tube, string, google eyes and glue gun

Flatten a paper tube.
Cut 3 identical width strips from tube.
Cut string for hanging.
Glue string between the base of two of the paper tubes. See photo.
Glue ears to the last section of tube.
Run a bead of glu on the top inside edge of the head.
Carefully place eyes to glue. Hold until dry.
Add a bit more glue behind eyes to ensure they stay in place.

Simple! Would make a cute ornament on an Easter-themed indoor twig tree. 

Stayed tuned for more bunny-centric crafts.

LinkWithin

LinkWithin Related Stories Widget for Blogs