Emme was wearing her favorite shirt today. She calls it her bubble shirt. Since she loves the shirt so much and we are currently trying to teach her her colors...I thought why not use something she loves to reinforce teaching her colors.
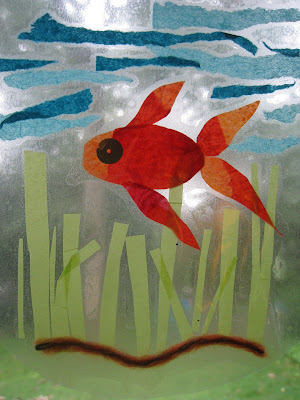
Having just used contact paper in the fish bowl project I knew this would be a simple way to execute the gum ball machine.
As she placed the bubbles on the contact paper I asked her what color they were. I helped her with the colors she didn't know. We will hang this where we can review the colors with her. Lulu wanted to get in on the action so she made a red one.
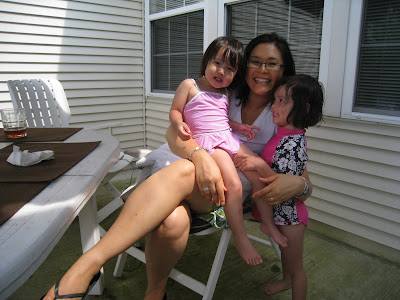
Emme protested having her picture being taken...you can see the inspiration for the project behind the sass!

Supplies: contact paper, construction paper in various colors, scissors, & glue
Measure out your contact paper by using a medium size bowl for your circle. Make sure 2 of your circles fit across the contact paper if you plan on folding in half. If you are making a large one (would be cute for a classroom) plan on cutting out 2 large pieces. Cut out your bubble gum circles. Use a bottle cap as a template if you need to. Cut out your base and top. You could add numbers to the bubble gum circles to extend the learning.

Tip: cover the half you will be folding over with the contact paper backing you already peeled off. This way your child will have a better sense of where they should place their bubble gum circles.

After your bubbles are sealed into the contact paper - trace a circle using a permanent marker. Cut out.

Again, Emme, refused to join in the picture...it has been one of those days. At least she had fun making it and was very angry to have it taken away from her for this photo. As you can imagine, it was quickly returned to her!
 I am sending out our Super Summer Swap packages today! Super Summer swap is hosted by Life of a Dairy Queen and Christy from Superheroes and Princess.


